
Minecraft shaders can give a entirely different perspective to Minecraft. From enhanced visuals, colours and textures. To improvements to lower end devices using Optifine. Picking one of more of the shaders listed below will definitely improve your day to day Minecraft playing or create a richer environment to film in for YouTube or other popular platforms.
1. BSL Shaders 🔗
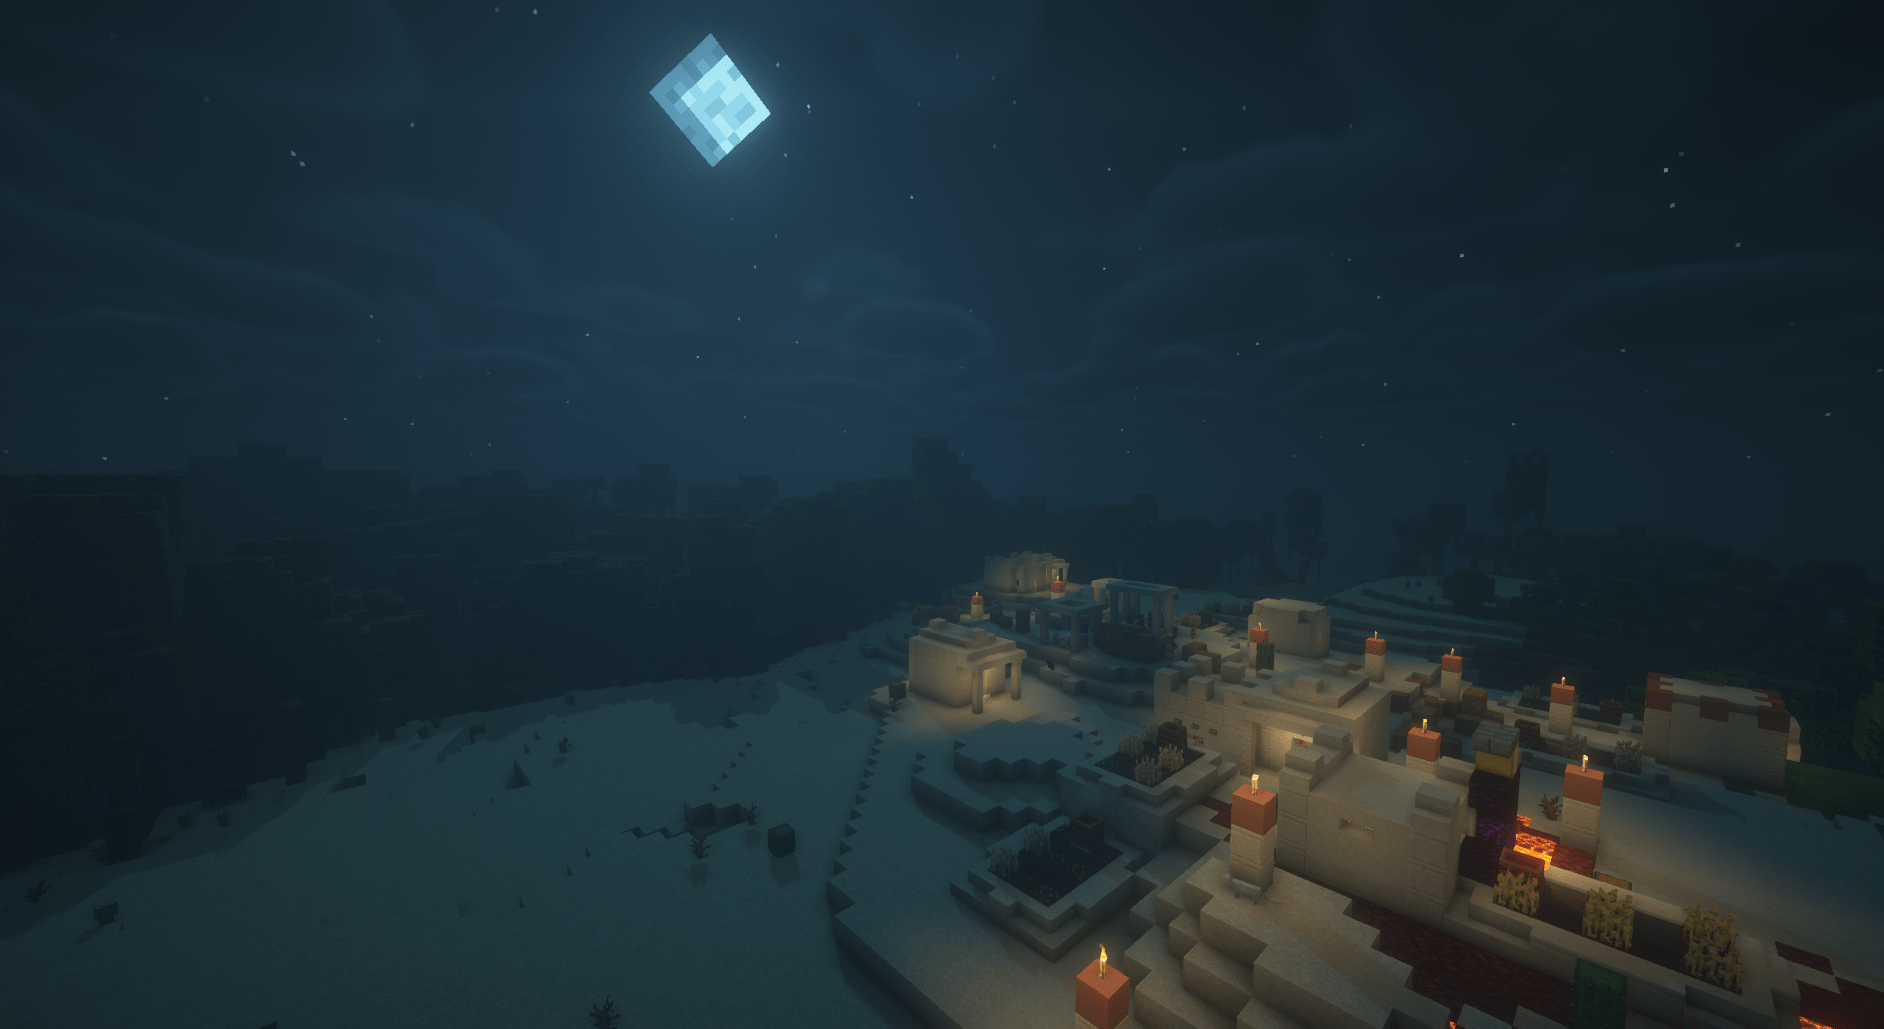


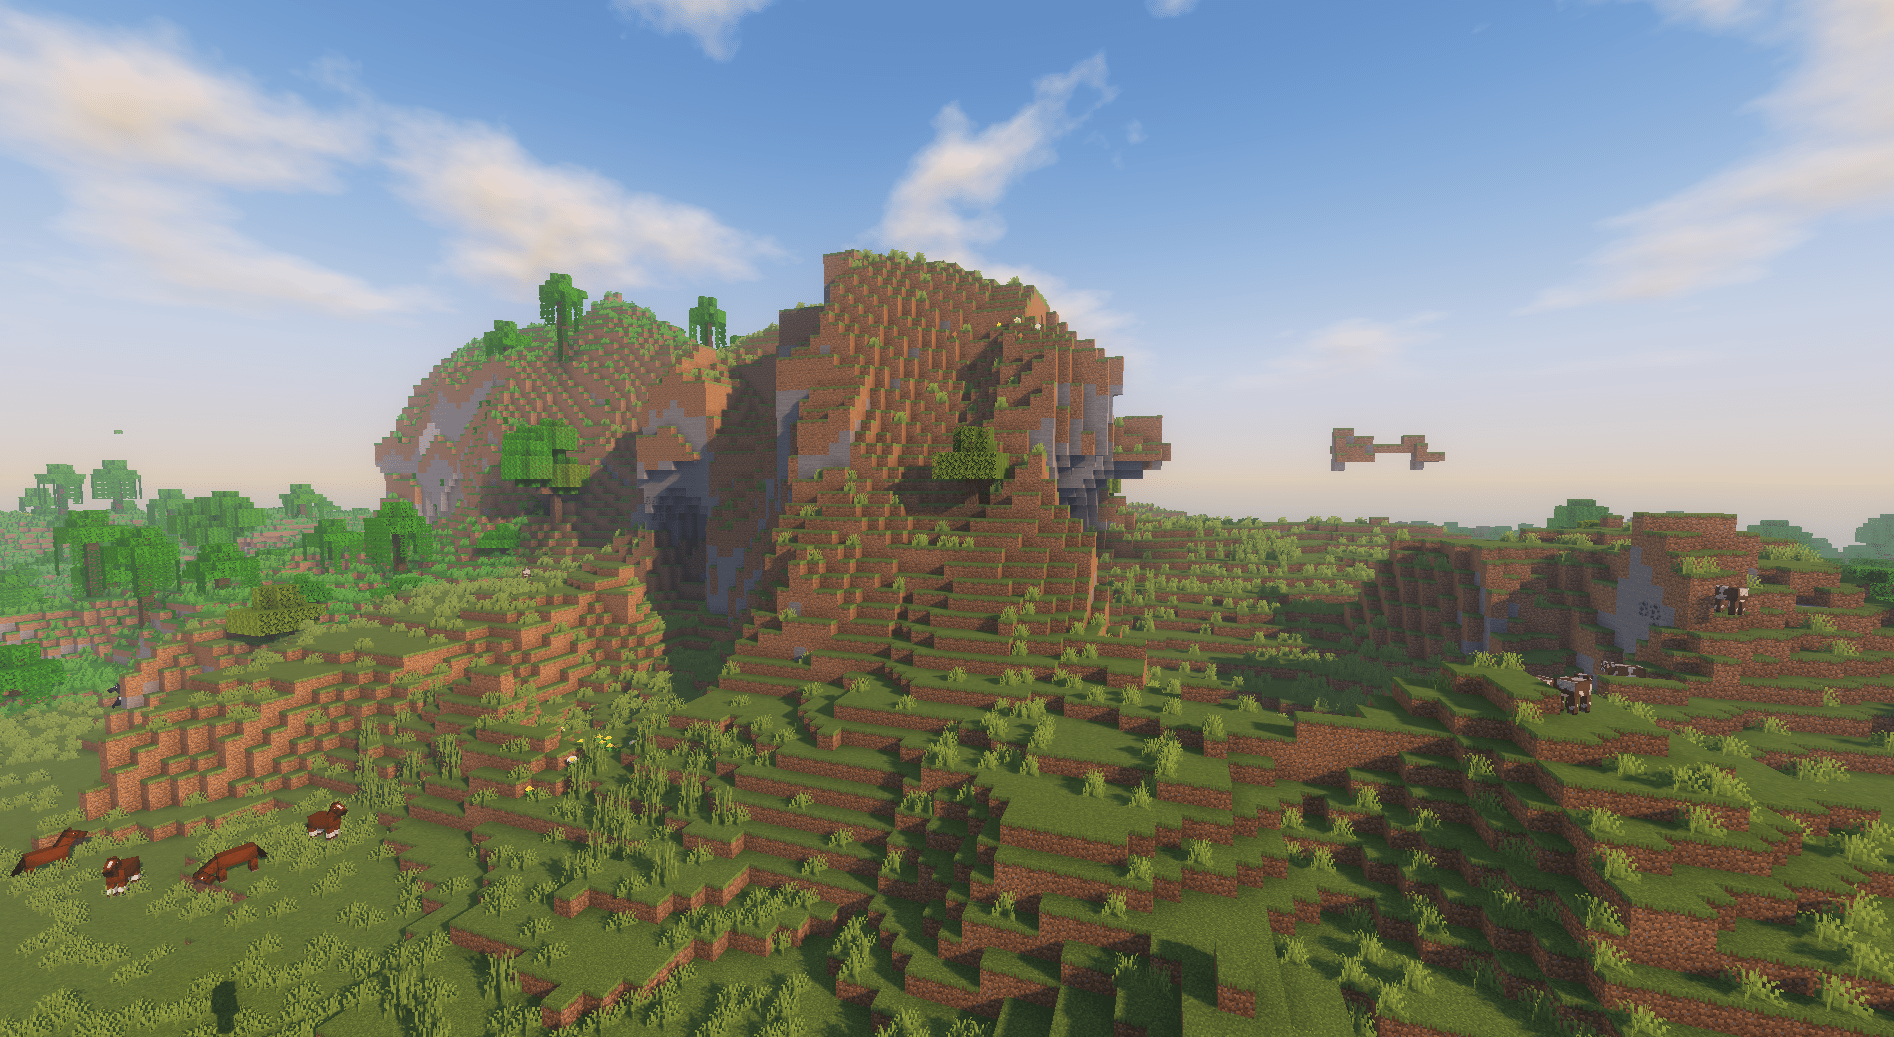
BSL Shaders are some of the most popular shaders in the Minecraft community, offering realistic, vibrant graphics that remain faithful to the original game’s aesthetic.
BSL Shaders elevate the Minecraft world to a whole new level of visual fidelity with its stunning lighting effects, shadow details, and water reflections. The contrast, saturation, and dynamic range of these shaders bring an extraordinary depth to the game’s world.
Shader Features
- Realistic lighting and shadows
- Enhanced water effects
- Vibrant colours and textures
2. SEUS (Sonic Ether’s Unbelievable Shaders) 🔗
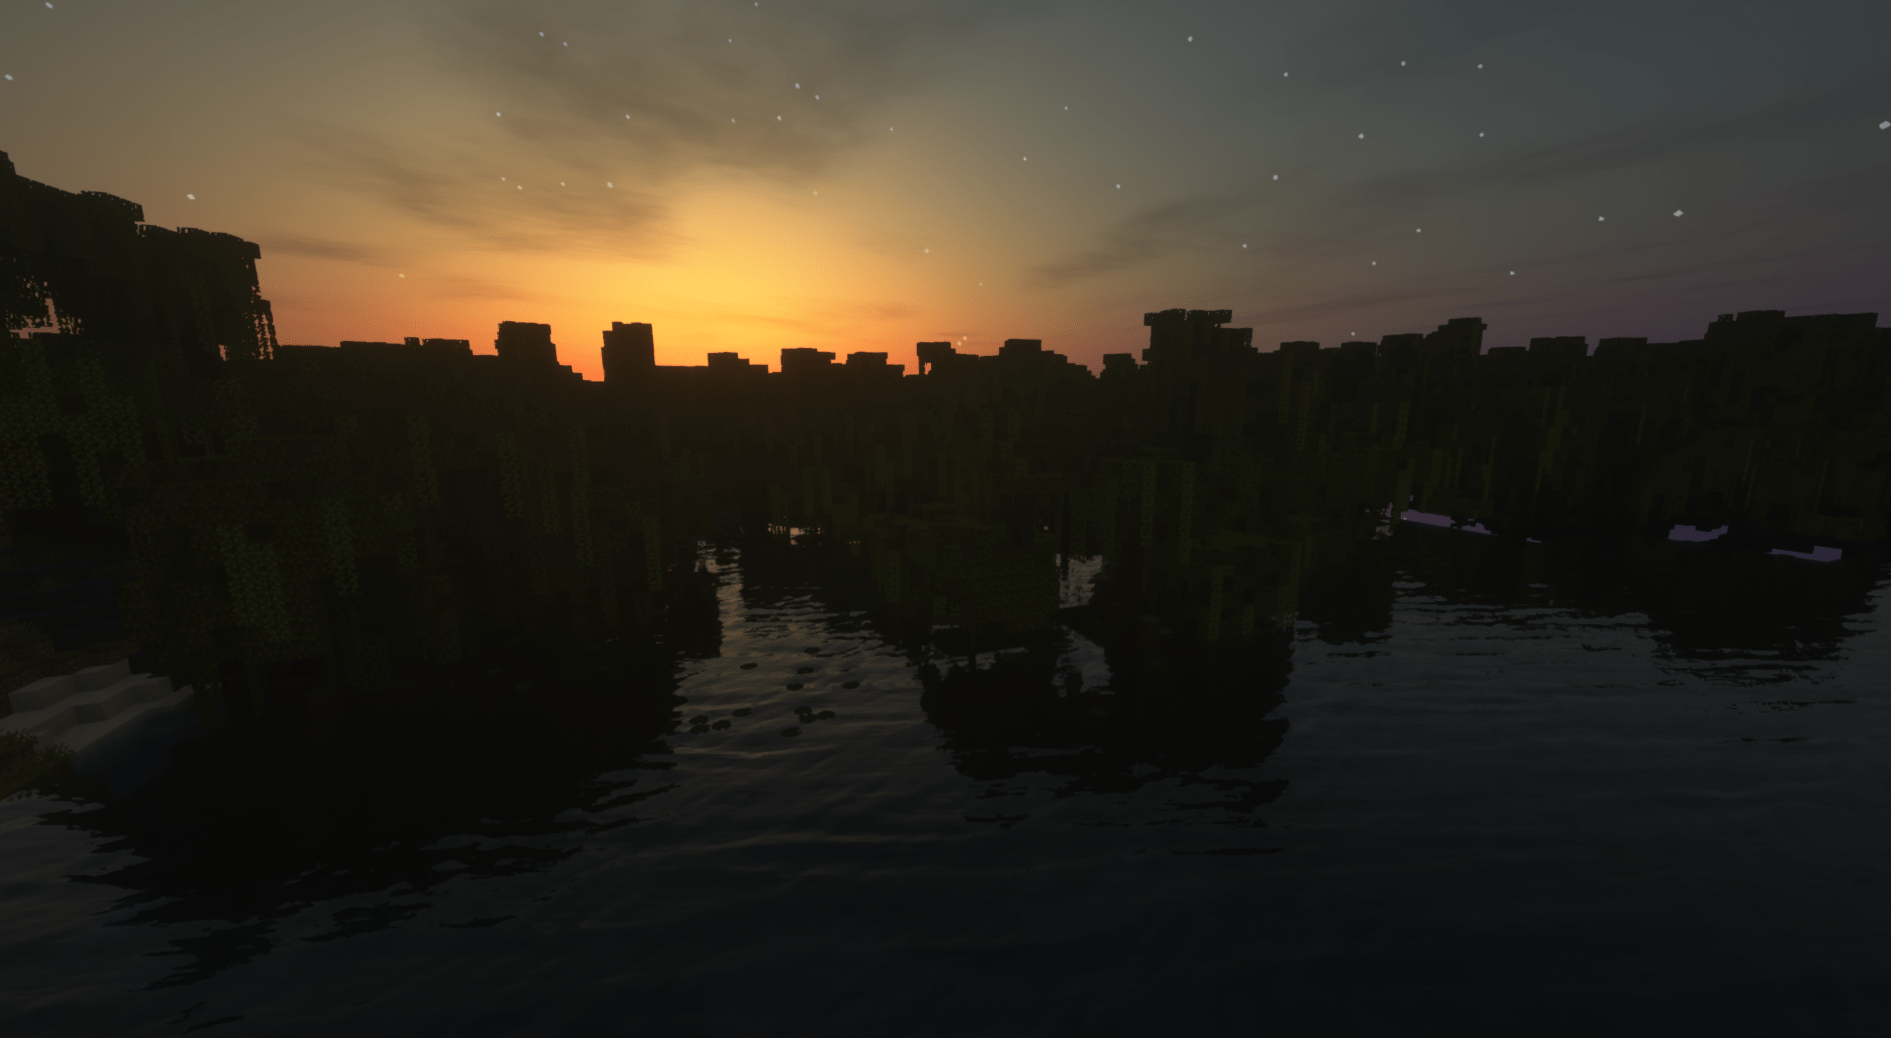


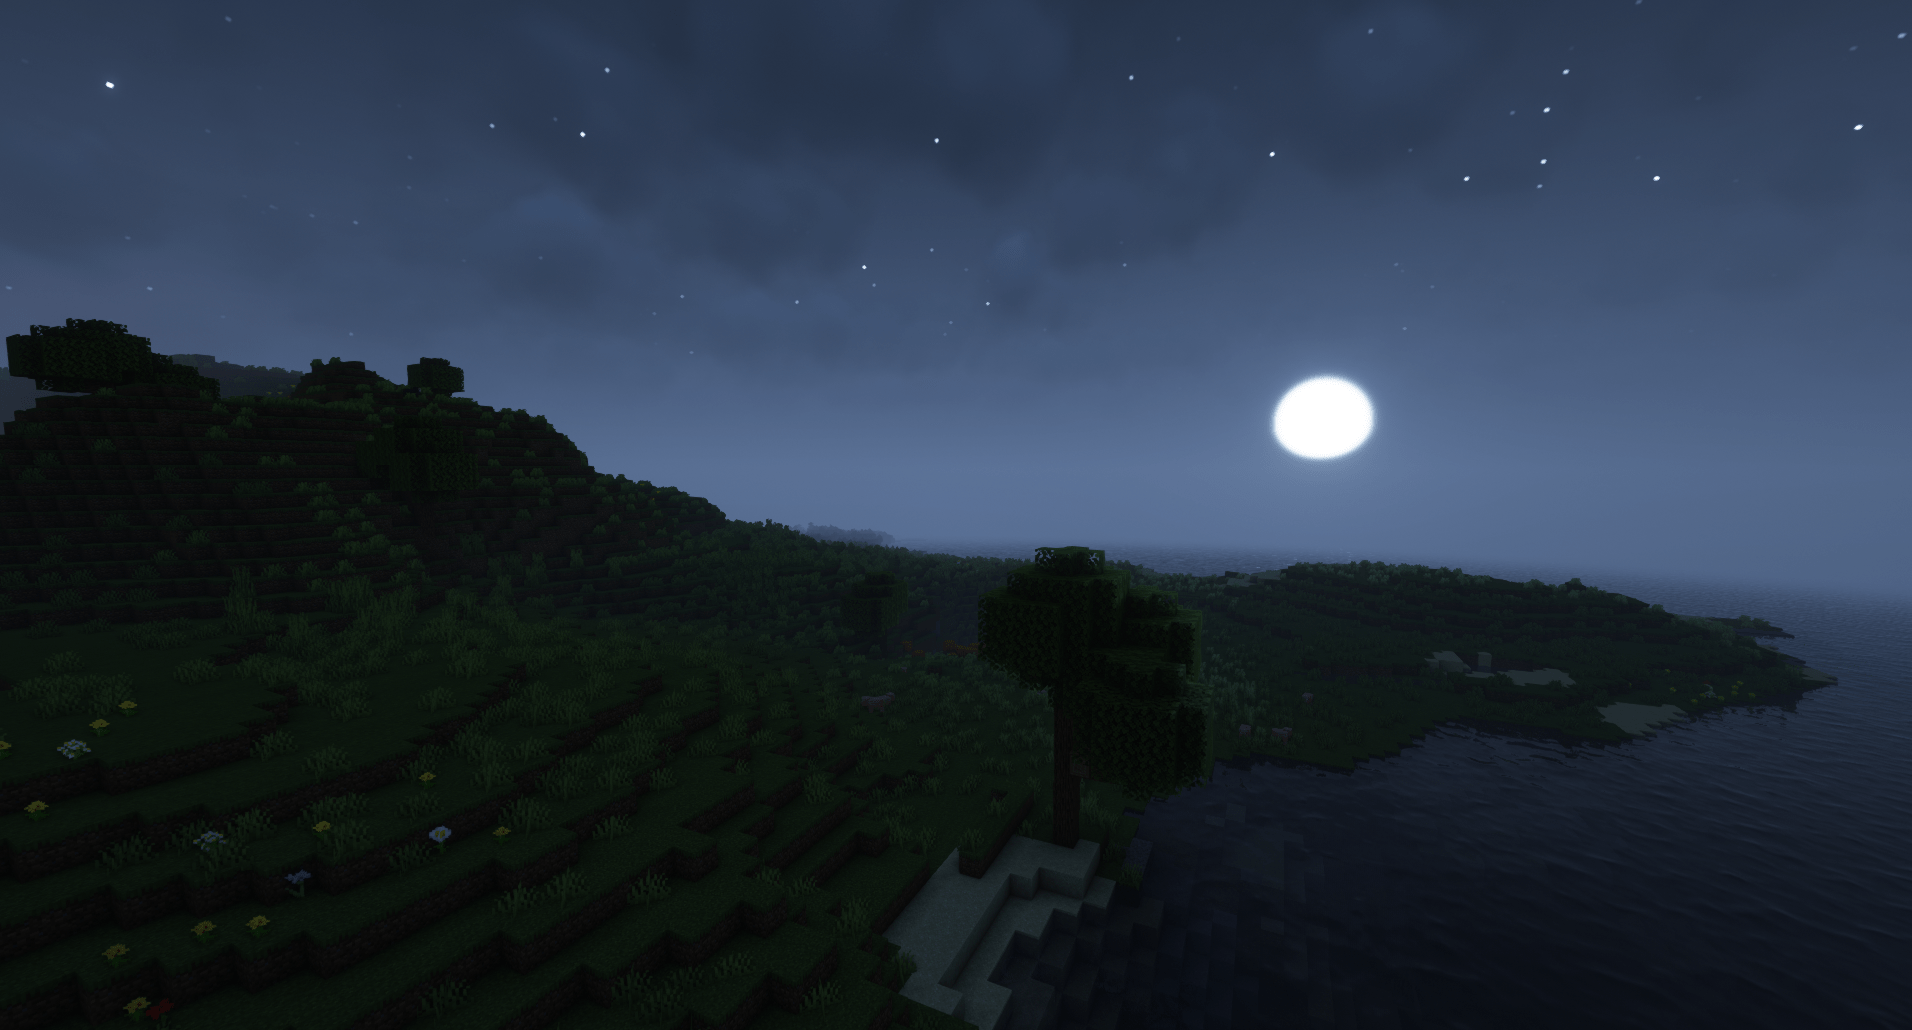
SEUS is an incredible shader pack that transforms Minecraft into a realistic and immersive visual experience.
Sonic Ether’s shaders offer an impressive level of detail, adding realistic water effects, dynamic lighting, and stunning sky effects. SEUS provides players with an immersive experience, making every Minecraft adventure even more engaging.
Shader Features
- Dynamic weather effects
- High-quality lighting and shadows
- Realistic water reflections
3. Sildur’s Vibrant Shaders 🔗
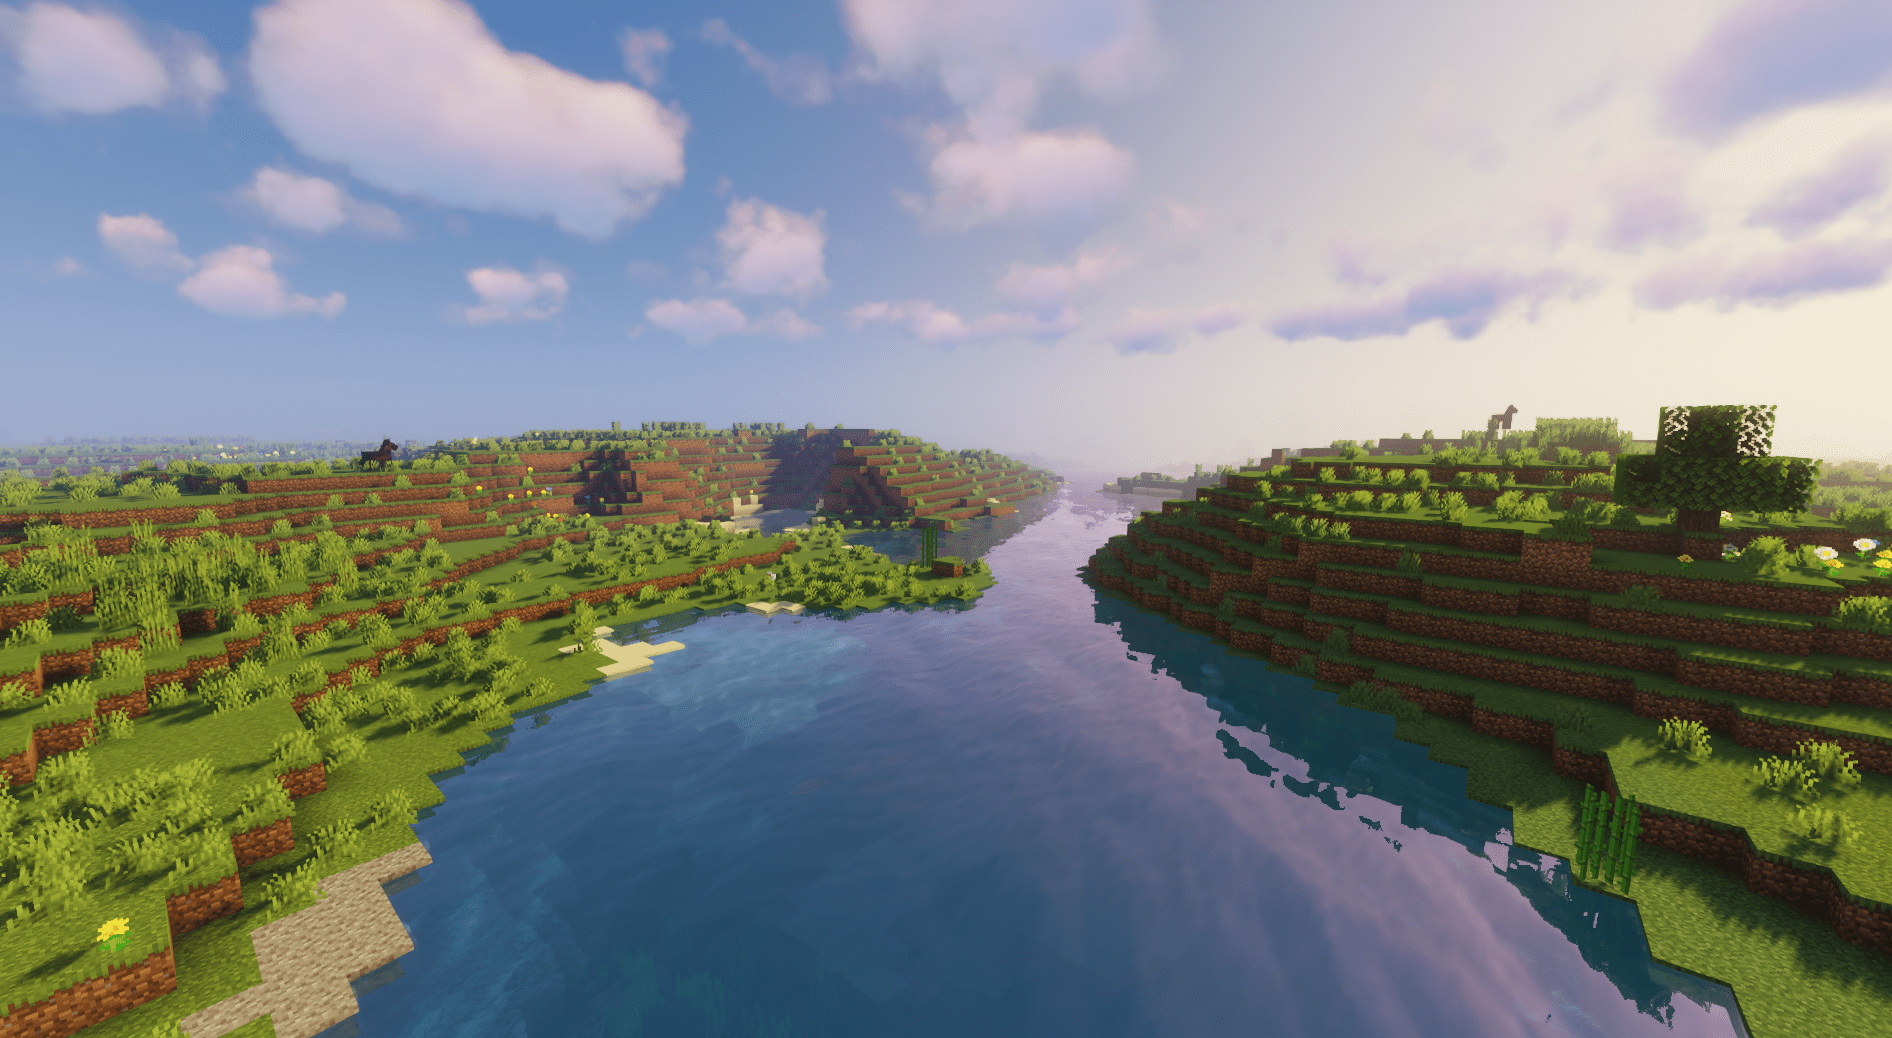


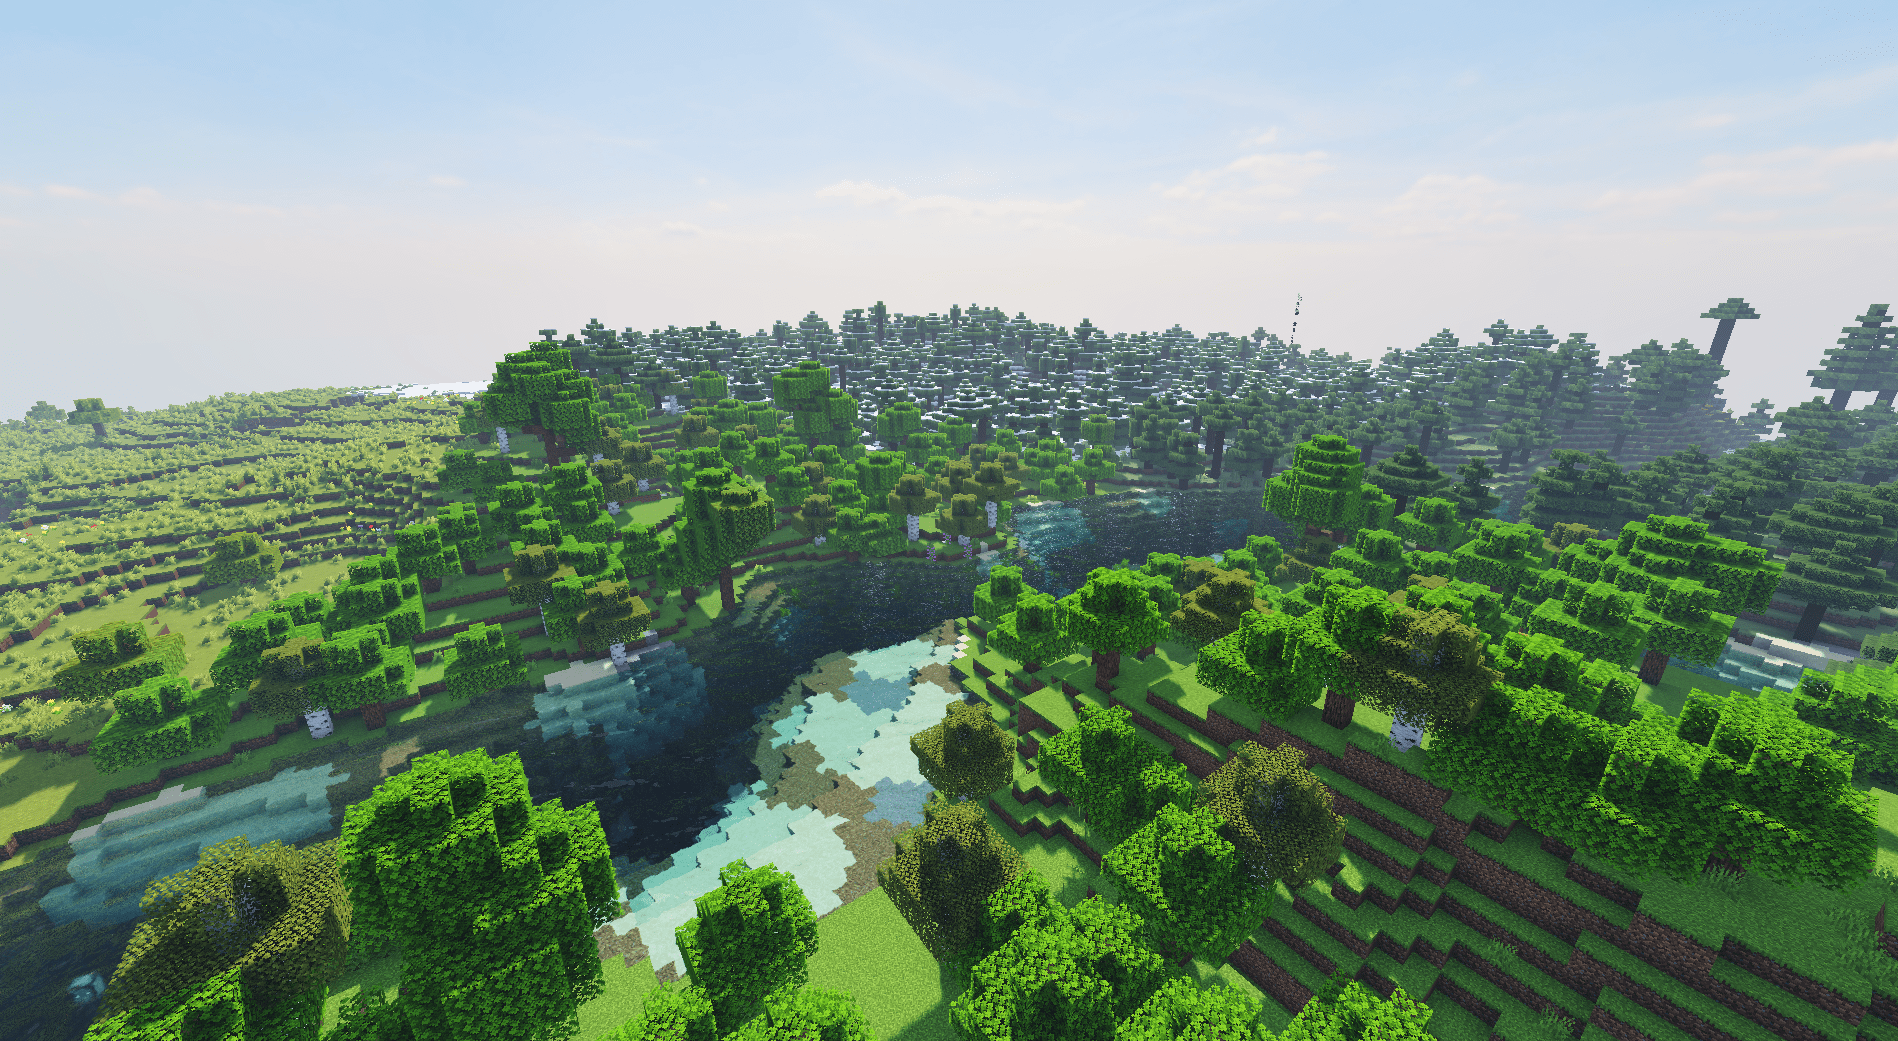
Sildur’s Vibrant Shaders are a great choice for players seeking a balance between performance and visual enhancement.
Despite the shader’s complexity, it runs smoothly on most systems while still delivering vibrant colours, detailed shadows, and amazing water effects. Sildur’s Vibrant Shaders is perfect for those who want a visually enhanced Minecraft experience without sacrificing performance.
Shader Features
- Balanced performance and visuals
- Vibrant colours and dynamic lighting
- Detailed shadows and water effects
4. Chocapic13’s Shaders 🔗
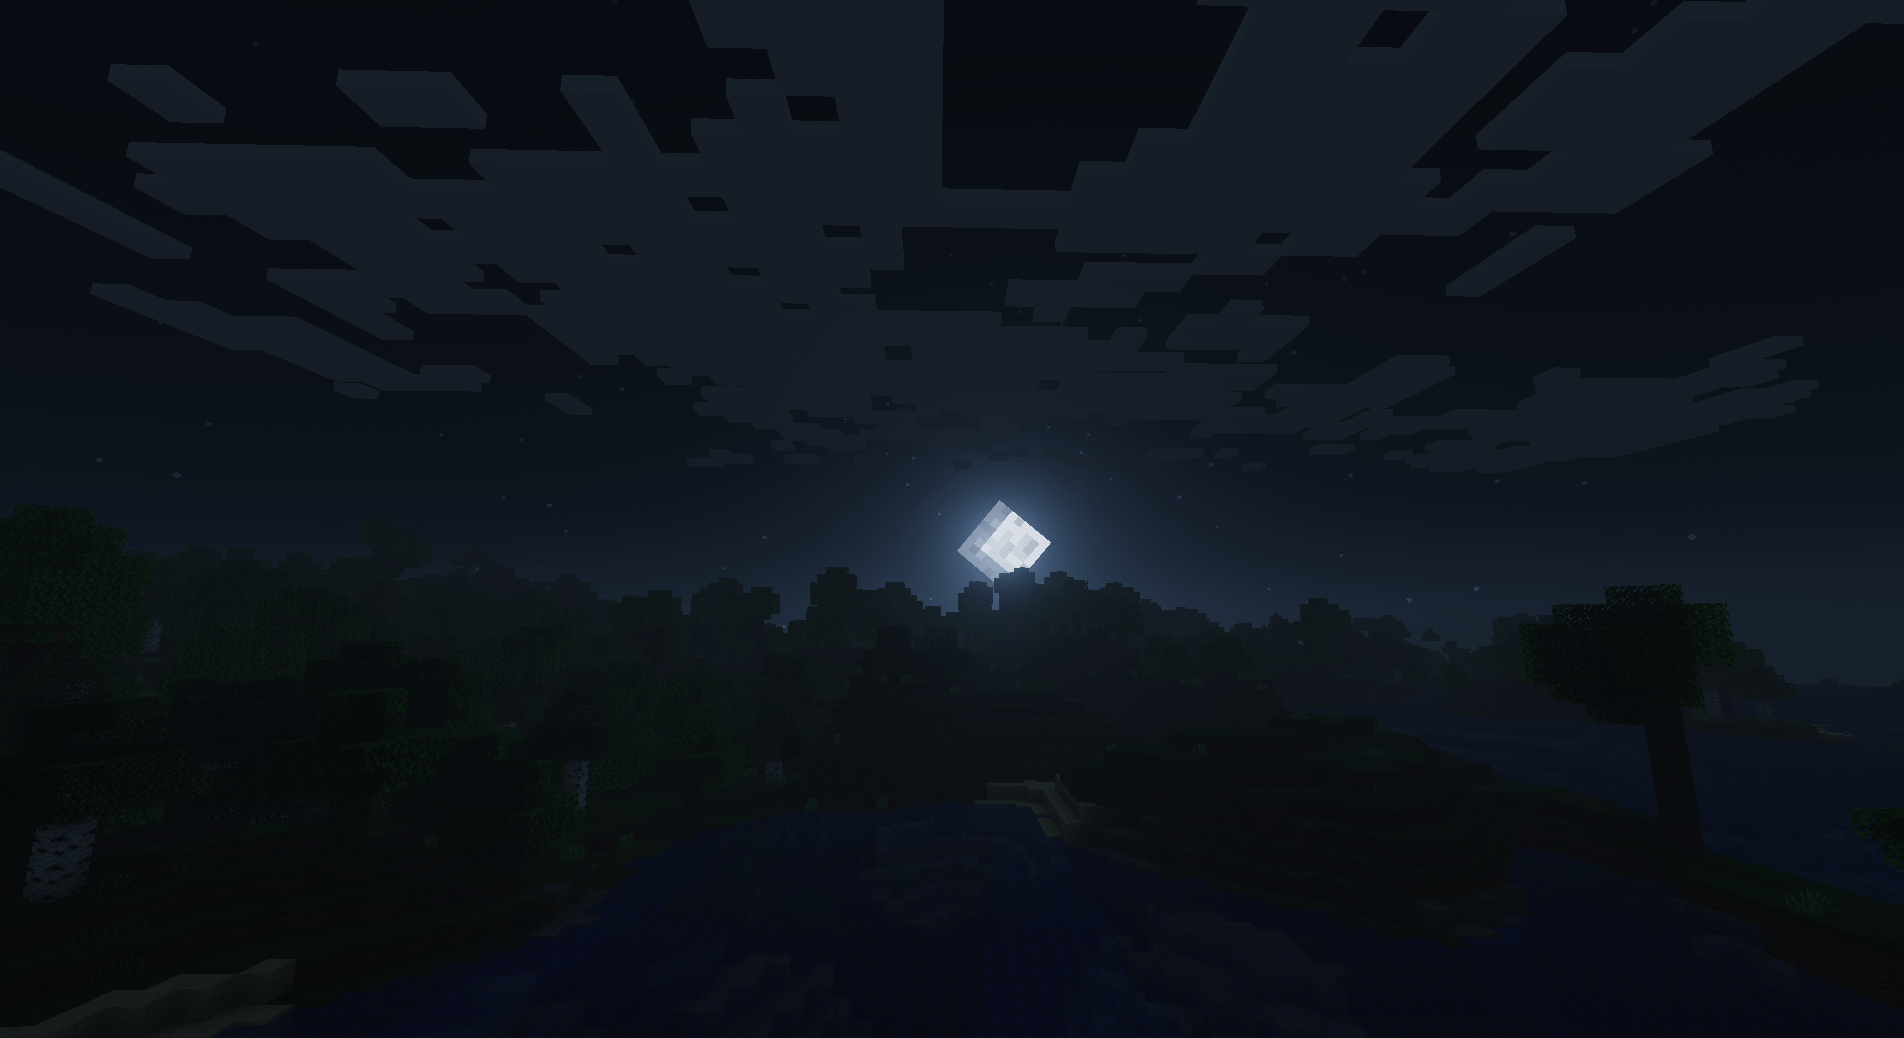


Chocapic13’s Shaders provide players with a variety of options to tailor their visual experience based on their system’s performance.
These shaders provide excellent visuals, from realistic lighting and shadow effects to beautiful water reflections and skies. With multiple versions catering to different performance capabilities, Chocapic13’s Shaders allow every player to enjoy a visually stunning Minecraft world.
Shader Features
- Versatile performance options
- High-quality visuals
- Realistic lighting and shadows
5. KUDA Shaders 🔗


KUDA Shaders provide a good balance between quality visuals and performance, creating an immersive and enjoyable gaming experience.
With its realistic skies, shadows, and lighting effects, KUDA Shaders brings an impressive level of detail to Minecraft. The shaders also feature beautiful water effects that add a sense of realism to the game’s environments.
Shader Features
- Balanced performance and visual quality
- Realistic skies and water effects
- Detailed shadows and lighting
6. Continuum Shaders 🔗


Continuum Shaders are designed for high-end systems, offering some of the most realistic visuals available for Minecraft.
These shaders bring a level of realism to Minecraft that rivals AAA games, with stunning lighting, incredible water effects, and hyper-realistic shadows. If your system can handle it, Continuum Shaders will give you an unforgettable Minecraft experience.
Shader Features
- Ultra-realistic visuals
- High-quality lighting and shadows
- Amazing water and sky effects
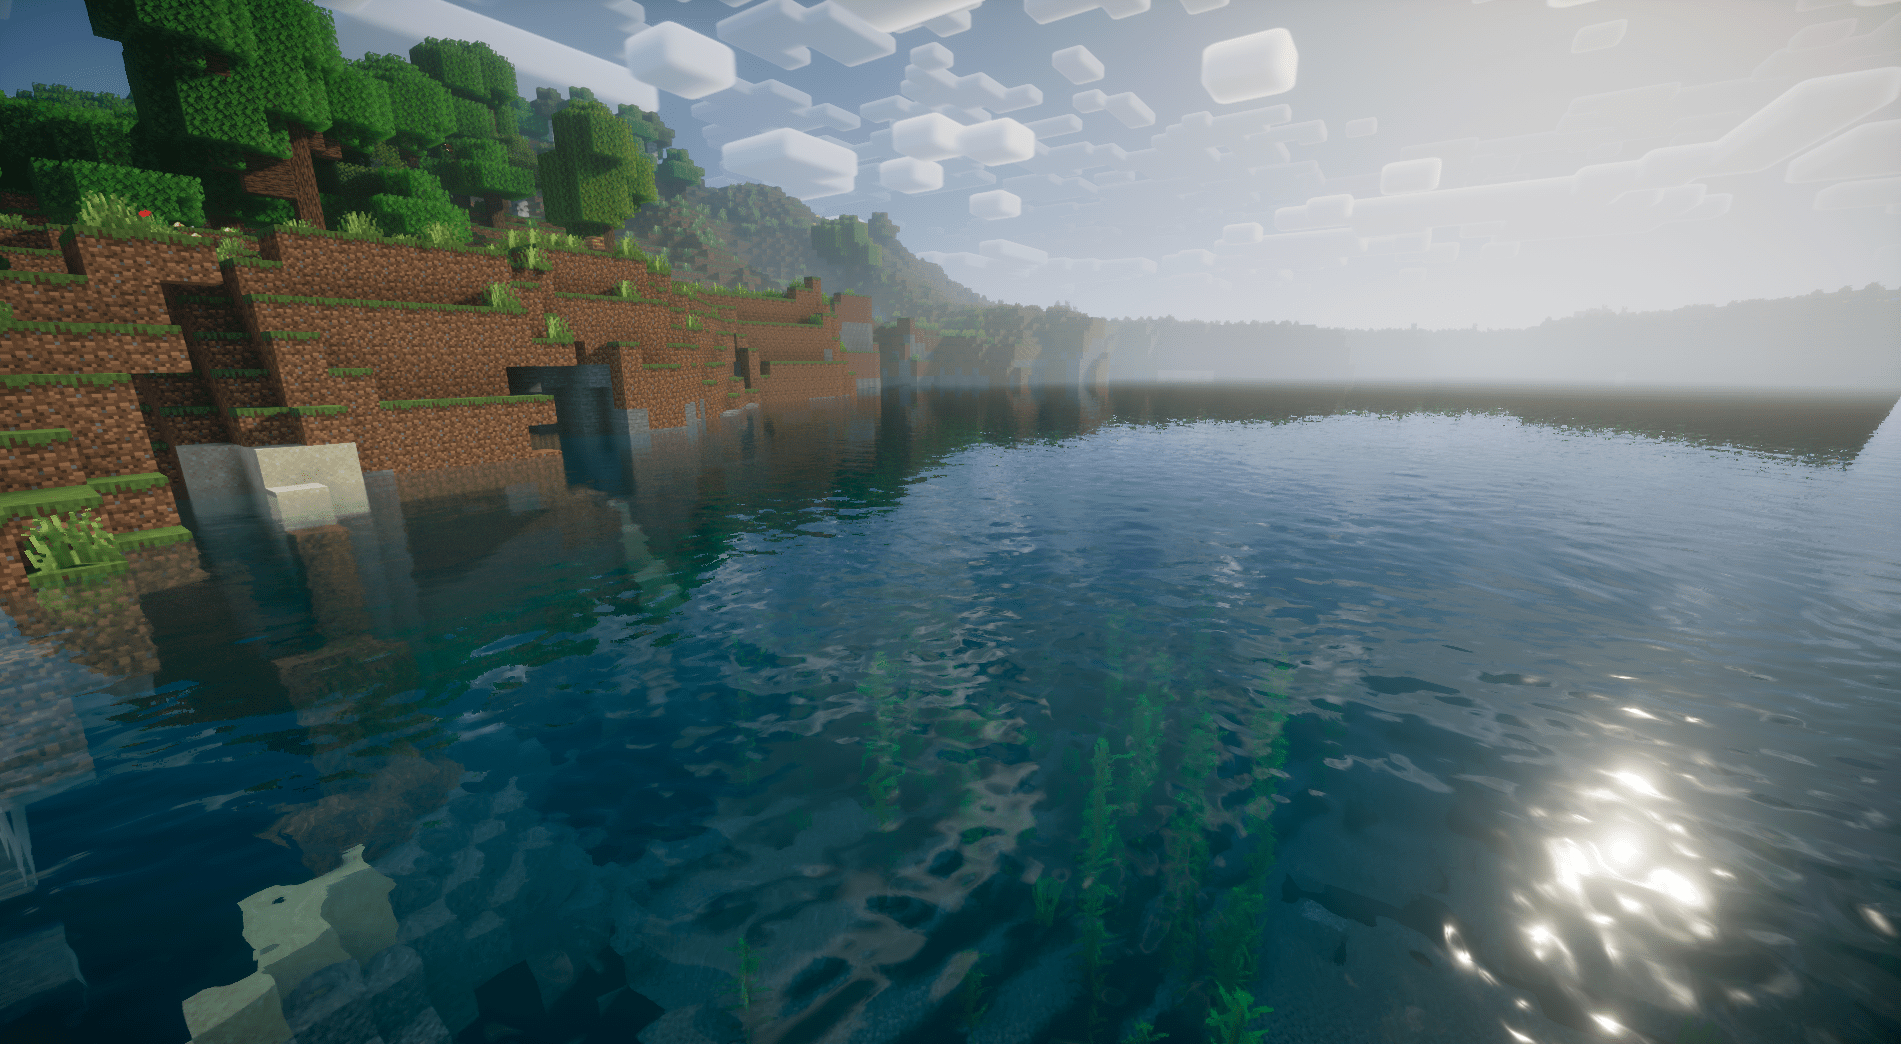
7. Oceano Shaders 🔗


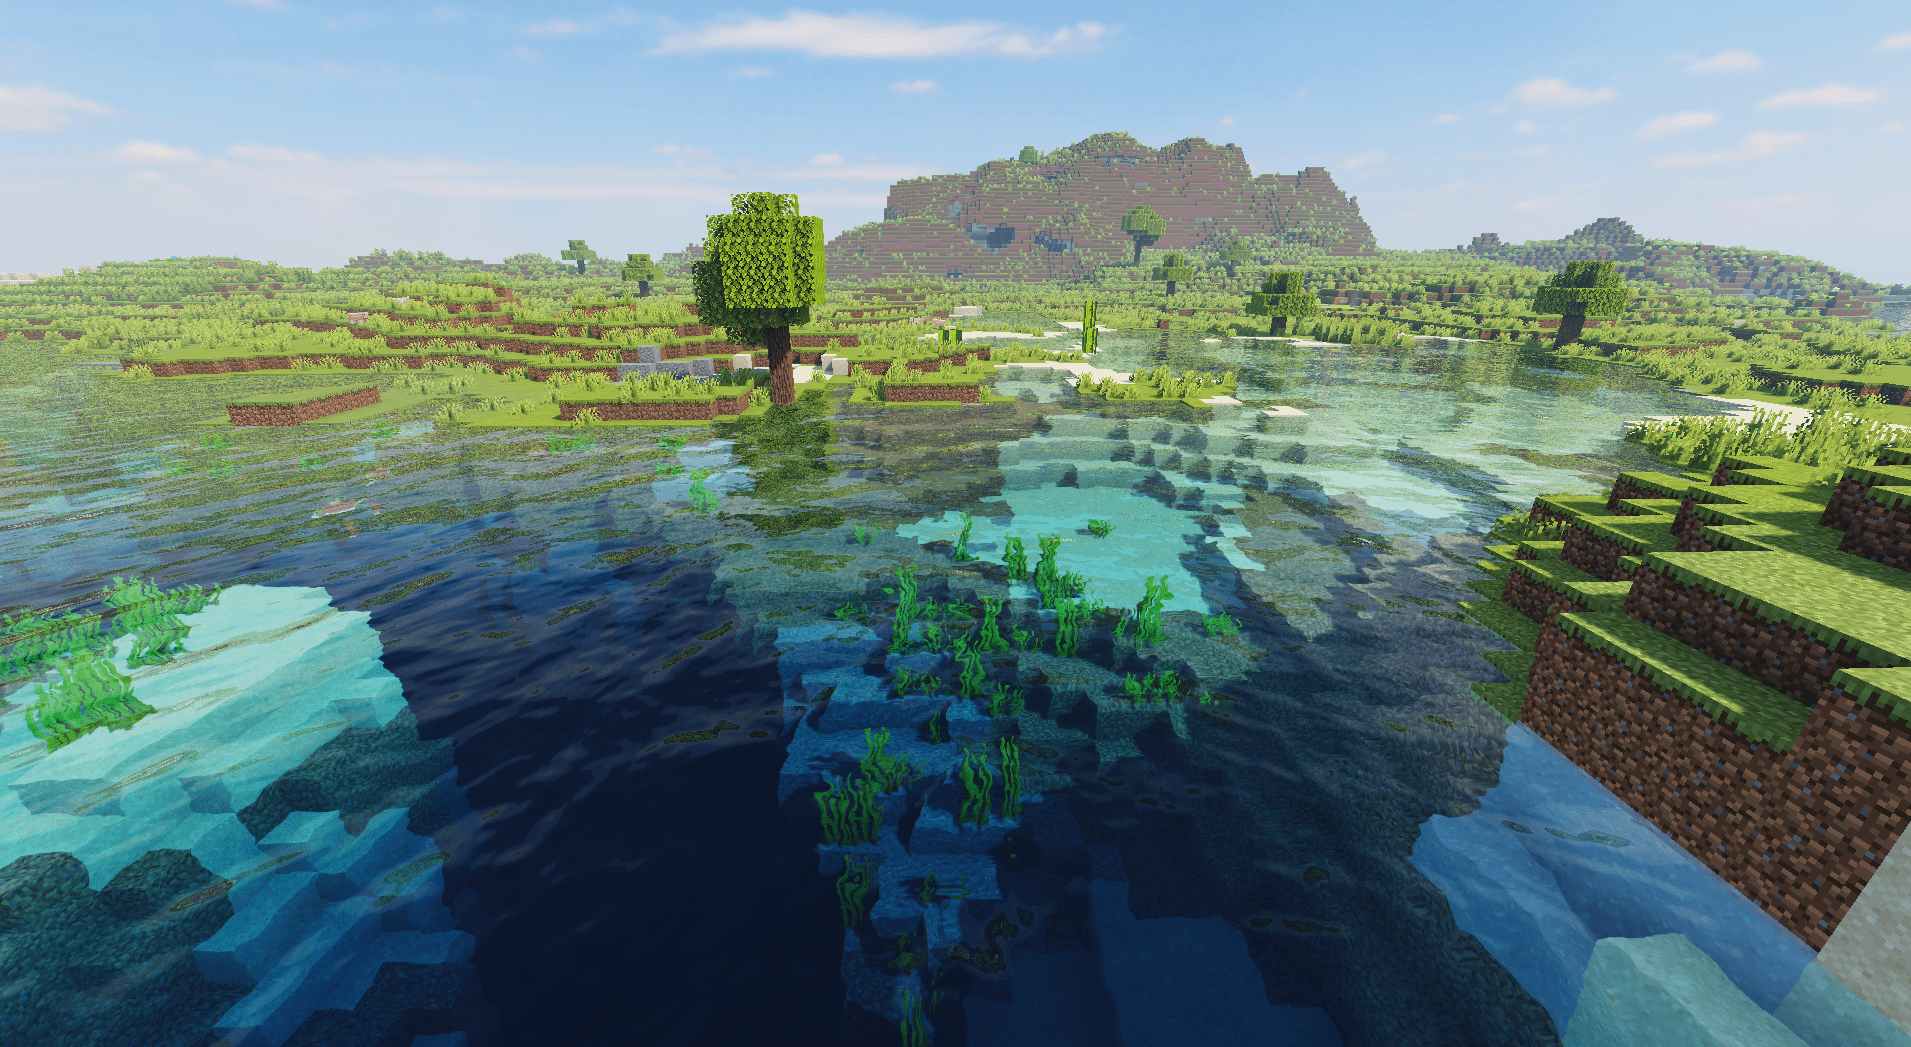
As the name implies, Oceano Shaders excel at creating beautiful, realistic water effects.
In addition to its fantastic water effects, Oceano Shaders also offers vibrant lighting and colours, detailed shadows, and a beautiful sky. This shader pack will make your Minecraft world look and feel like a paradise.
Shader Features
- Beautiful water effects
- Bright colours and lighting
- Detailed water textures
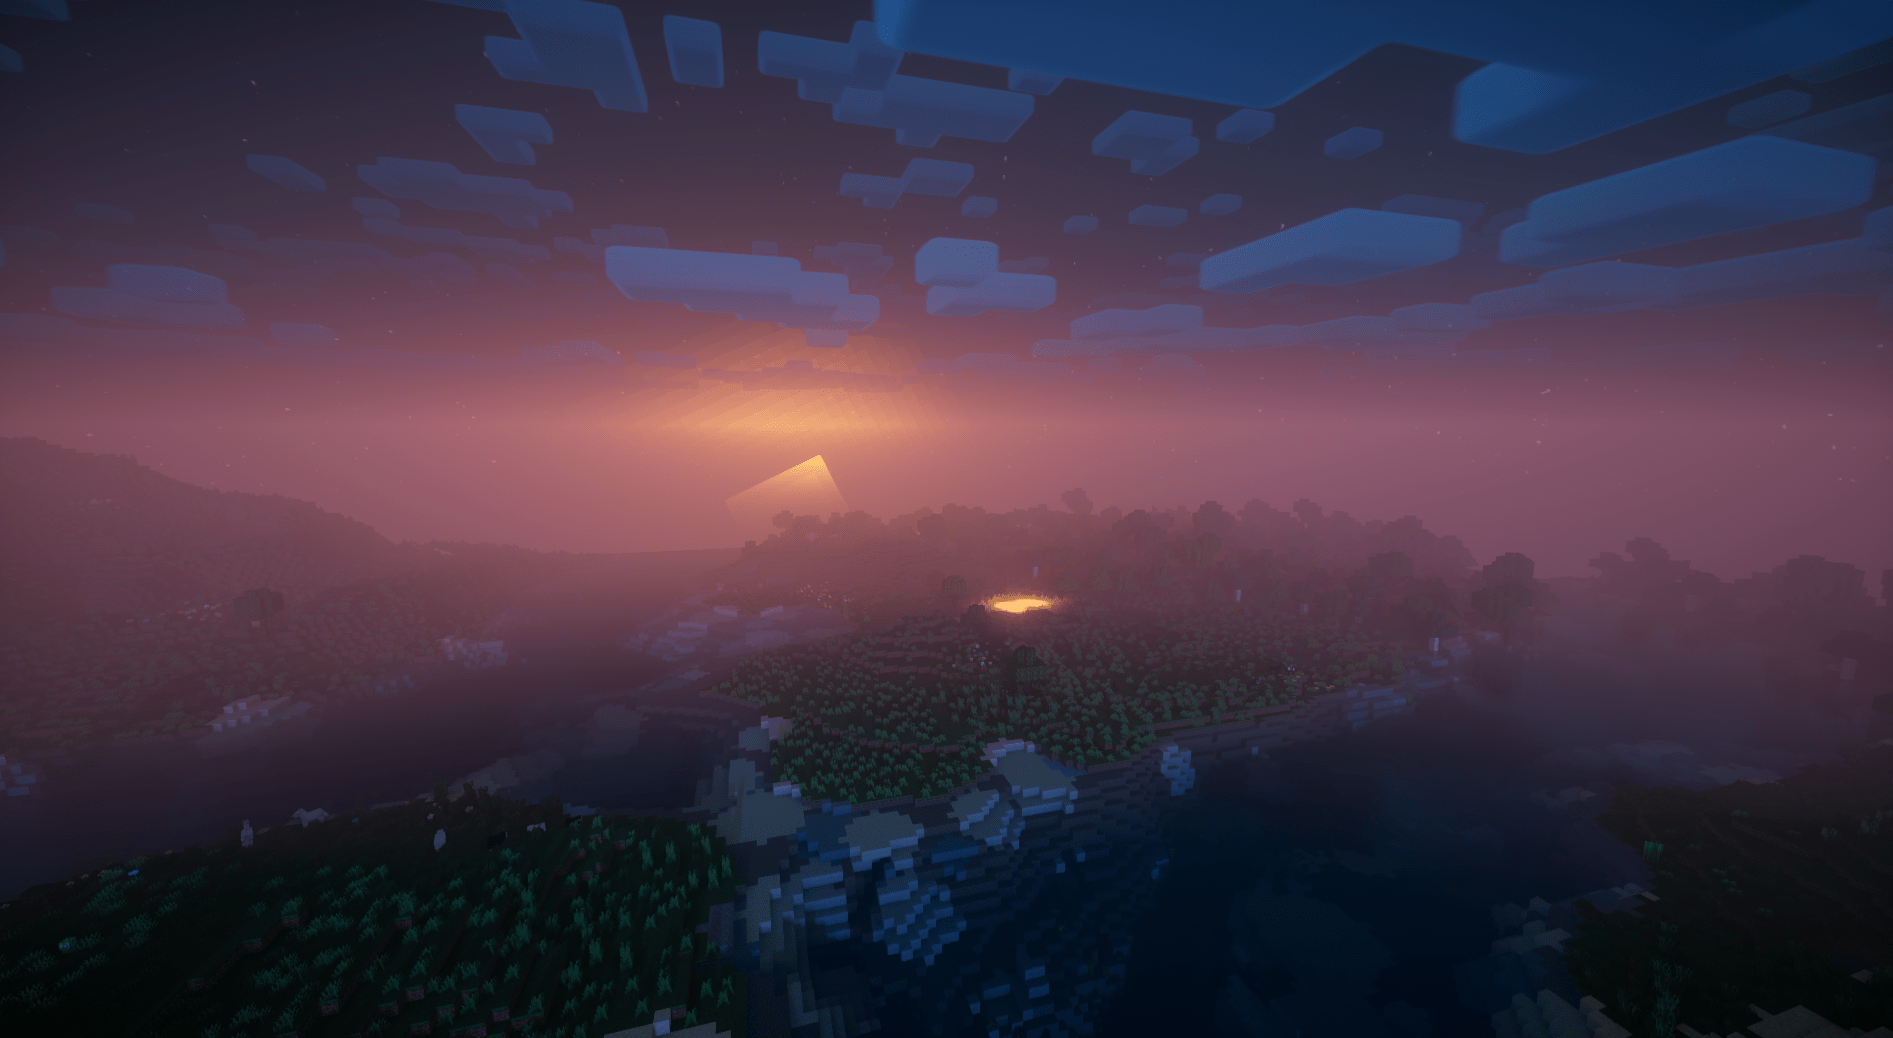
8. Complementary Shaders v4 🔗


Based on BLS shaders this shader pack aims to bring everything, from shadows, hd graphics, great performance and of course stunning sunsets.
It claims to be compatible with almost any CPU driver and will deliver great graphics as well as performance if your using it to film with.
Shader Features
- Optimized for performance
- Enhanced lighting and colours
- Realistic shadows
9. ProjectLUMA Shaders 🔗

ProjectLUMA Shaders is a revamp of the well-known KUDA shaders, aiming to offer improved visuals while retaining the spirit of the original pack.
These shaders deliver vibrant colours, dynamic lighting, detailed shadows, and impressive water effects. ProjectLUMA is perfect for players seeking a visually enhanced but performance-friendly Minecraft experience.
Shader Features
- Vibrant colours and dynamic lighting
- Detailed shadows and water effects
- Performance-friendly
10. Nostalgia Shader 🔗

Nostalgia Shader is perfect for players who love the classic Minecraft aesthetic but want a touch of realism.
This shader pack enhances the original look of Minecraft with better lighting, shadows, and water effects. Nostalgia Shader brings a new depth to the classic Minecraft aesthetic, providing a unique visual experience.
Shader Features
- Enhances classic Minecraft aesthetics
- Improved lighting and shadows
- Realistic water effects
Guide On Adding Shaders To Minecraft
- Download and install the latest version of Optifine for your Minecraft version. Optifine is necessary to enable shaders in Minecraft.
- Download the shader pack you wish to use.
- Open Minecraft and navigate to “Options” on the main menu, then select “Video Settings” and click on the “Shaders” option.
- Click on the “Shaders Folder” button to open the shader packs folder on your computer.
- Drag and drop or copy-paste the downloaded shader pack file into this folder.
- Close the folder, go back to Minecraft, and you should see the shader pack in the shader list. Click on it to enable it.
- You can adjust the shader settings to suit your performance and visual preferences.
- Click “Done” and start a game to enjoy Minecraft with your new shaders!