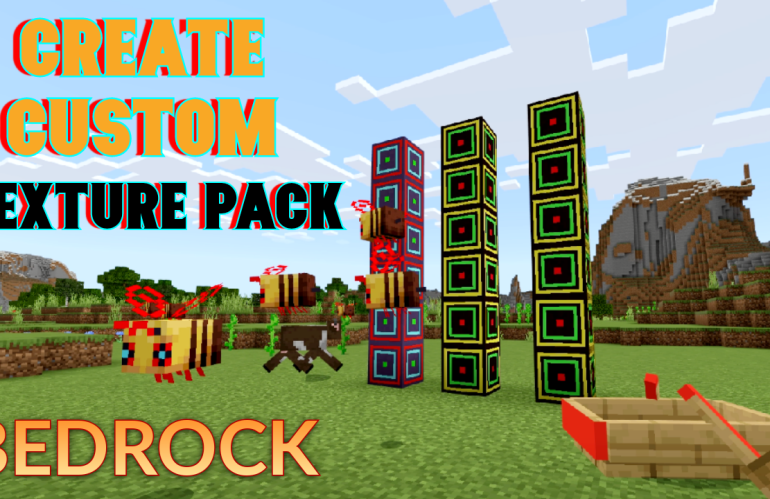
Learn how to easily create a custom texture pack for Minecraft on Bedrock Edition.
Creating Custom Texture Packs For Bedrock
Modding Minecraft can be fun but with out previous knowledge can also prove tricky. So i have put together a super easy guide so you can also change your textures easily and create new add ons to add to your Bedrock world or server.
We will be using the most simply and easy method possible and will also show how to edit your texture pack after and upload with any changes.
Create A Minecraft Bedrock Texture Pack Guide
Step 1: Download the template resource pack from the Minecraft website. And then scrolling till the bottom untill you see the “Introduction to Resource Packs” option. Then select it.

Step 2: Download the Resource pack by clicking on the link.

Step 3: Create an empty folder and more the downloaded resource pack into the empty folder, then right click and extract all the files here. Then delete the zipped file after all has been extracted.
Step 4: Now create one more new folder and copy and paste the following files from the folder you just extracted the resource pack from.
- Manifest.json
- Textures
- Pack_icon

Step 5: To change your pack icon, right click on it and select open with > Paint.Net and then design your pack icon. Then press save once done and close the window.
Step 6: Your manifest.json file is next and we need to make a few changes.
- Change pack description.
- Change pack name.
- Change UUID code (use generator)
Just make sure to only change things inside of the quotation marks. You dont need to worry about the bottom half of the page. Only what is underlined in red.

Step 7: Time to start editing your textures now, open your textures folder. Select the type of block/entity you want to edit and right click on the file and open with paint.net.
(How to download pain.net for free)

Step 8: Once edited then press save before closing down paint and it will overwrite the old file. Continue this untill you have changed all the blocks/entities you want for your pack.
Step 9: With all your pack done, its time to upload it to Minecraft. To do this select all three folders. Right click on them, select “Send To” and then “Compressed (zipped) folder”.

Step 10: This will now create 1 folder ending with .zip, right click and rename the first part before the .zip to your pack name (Your choice of texture pack name) then change the .zip to .mcpack

Step 11: Now click off the folder, and press yes on the next warning about changing the file type. It will now shows as a Minecraft icon rather than a .zip file.
Play With Your New Texture Pack: All you need to do now is double click on the .mcpack folder you created and it will install straight into Minecraft. To add the pack, create a new world and go to resource packs on the left. Then select your add on.
Updating or Editing a Texture Pack or Add ons
Of course you will need to test things out and want to add more to your texture pack. So lets go through you can easily edit or update your bedrock texture pack.
Step 1: Right click you current texture pack (with the Minecraft icon) and rename it. Then change the .mc world to .zip and accept the warning message.

Step 2: Edit the block or entity on the folder thats not in the compressed/zipped file. The one you originally made the pack with.
Step 3: Open up your zipped texture pack folder and open the relevant folder to where you want to upload the changed the block/entity.
Then drag the folder/file you edited into your zipped folder for your texture pack. In the picture below I changed one of the blocks in the block folder, so by dragging the blocks folder into my zipped file it will overwrite the older blocks folder and will now have the new edited version of any files within that folder as its over written the older one.

Step 4: Now you will need to do the same with your manifest.json file on your zipped ad on folder. The only thing to edit here is the version, so plus one number for each new version. For example if this is my forth edit. Ill add version 0, 0, 4.

Step 5: Now its time to right click on the .zip folder and re name it back to .mcpack, once you have renamed it you can double click it and load the updated texture pack into Minecraft. Just make sure to select the newer pack from your resource packs when creating a new work. (The newest is on the top of the list)
